
A Step-by-Step Method for Transparent Buyer Verification
In the world of online shopping, especially within communities like USFANS, Quality Control (QC) photos are a vital tool for ensuring you receive authentic products. This guide outlines a proven method to systematically verify items by permanently linking inspection photos with seller information.
The Core Principle: Create an Unbreakable Link
The most effective verification goes beyond just reviewing photos. It involves recording the inspection photos directly alongside the seller's listing information. This creates a transparent, timestamped record for your reference and for the community.
Step-by-Step Verification Process
Step 1: Request Comprehensive QC Photos
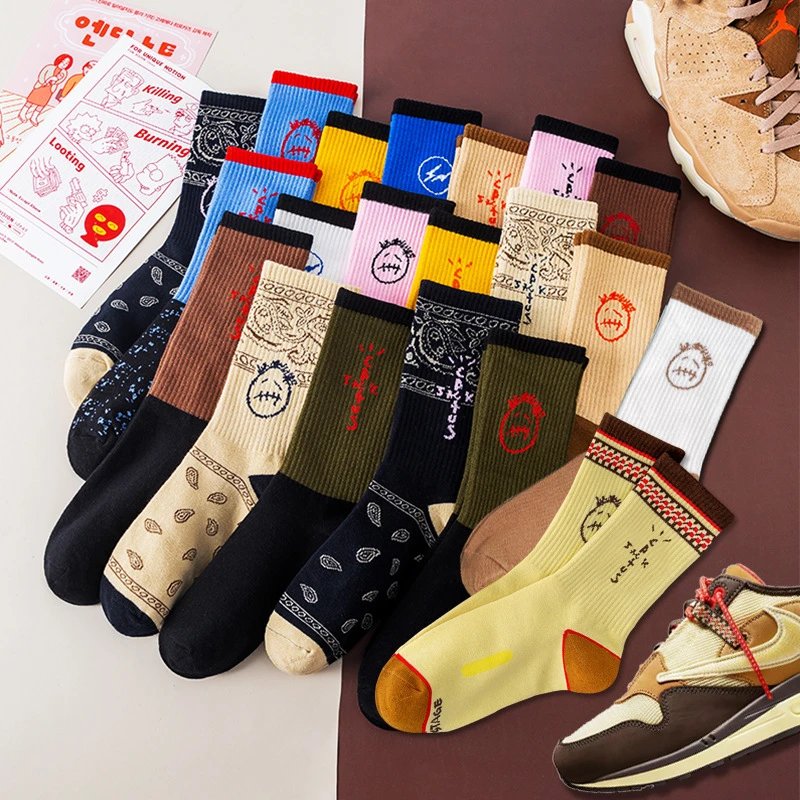
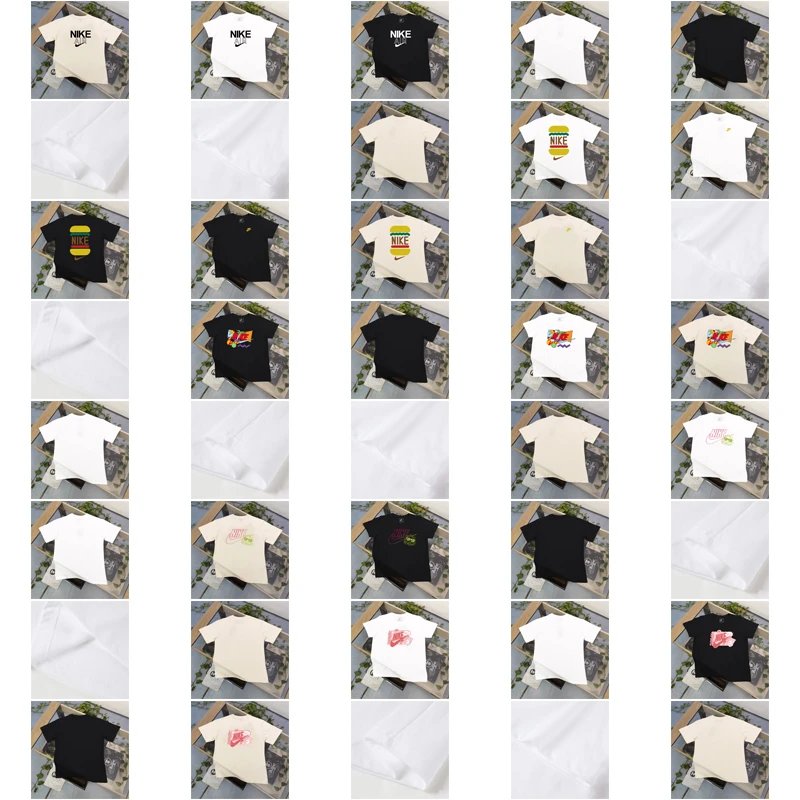
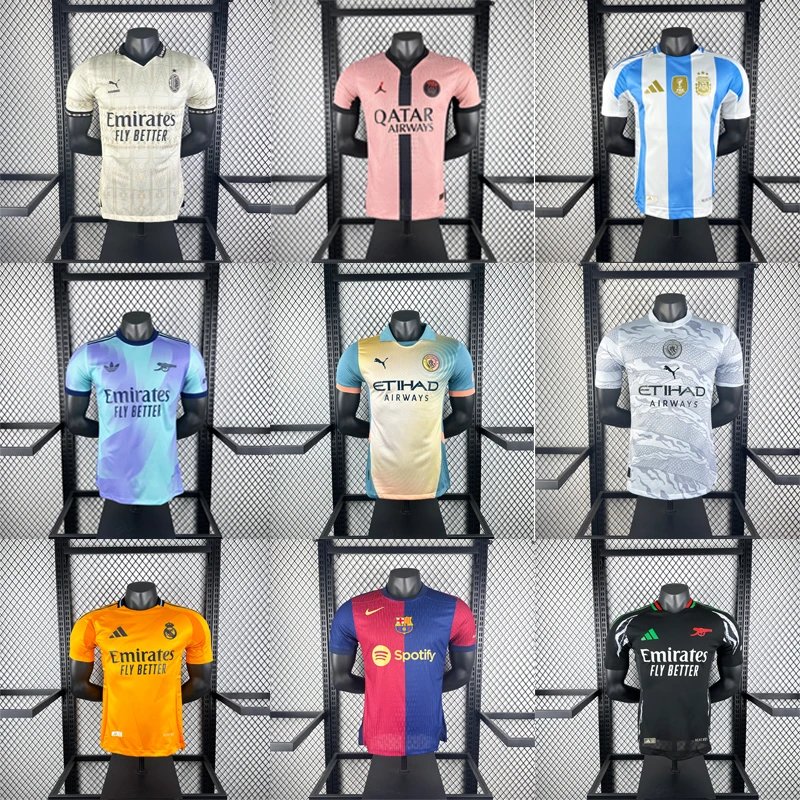
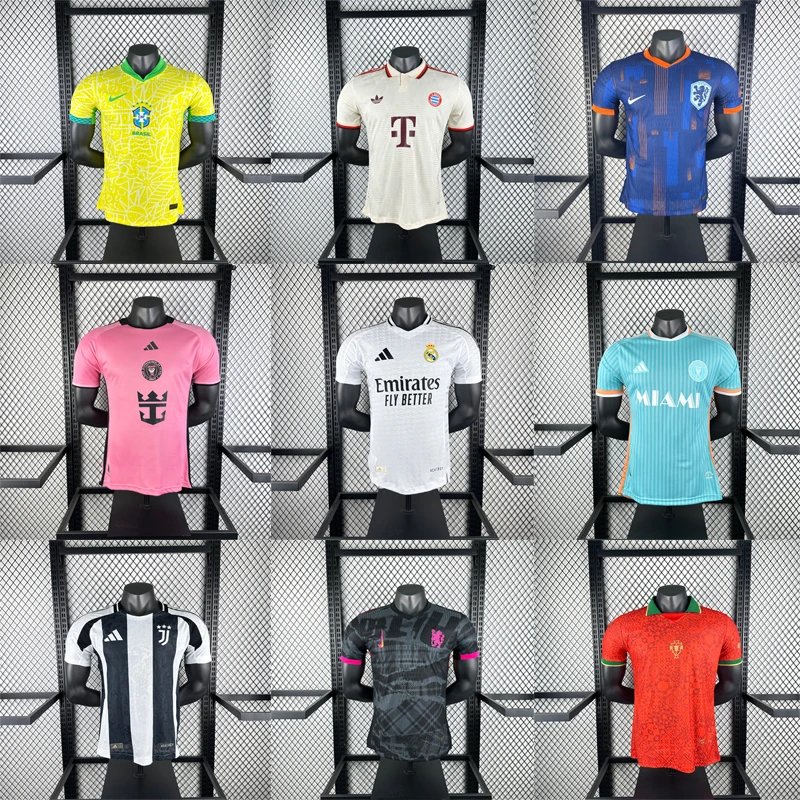
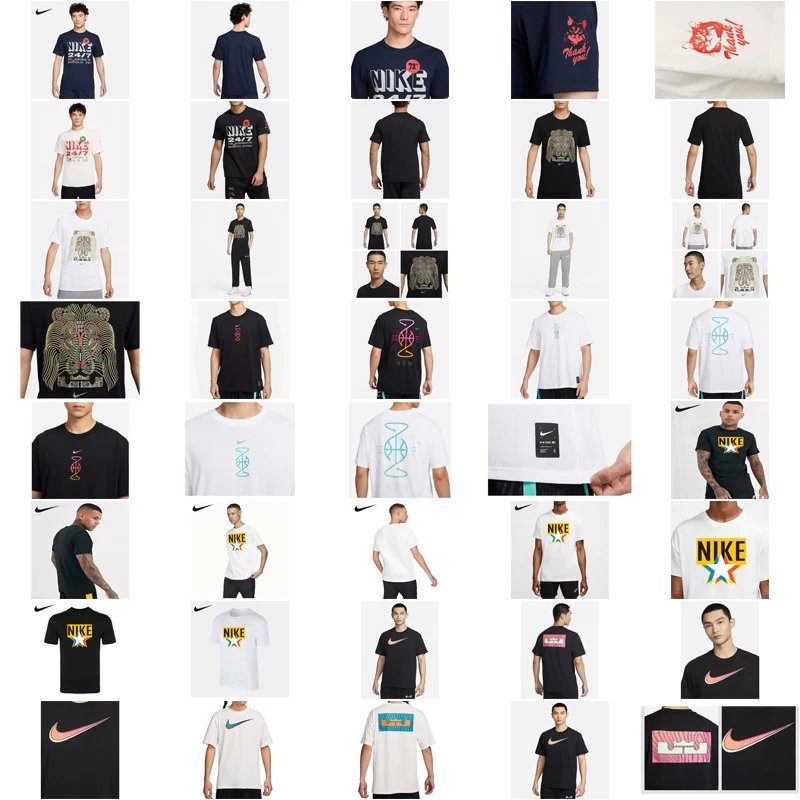
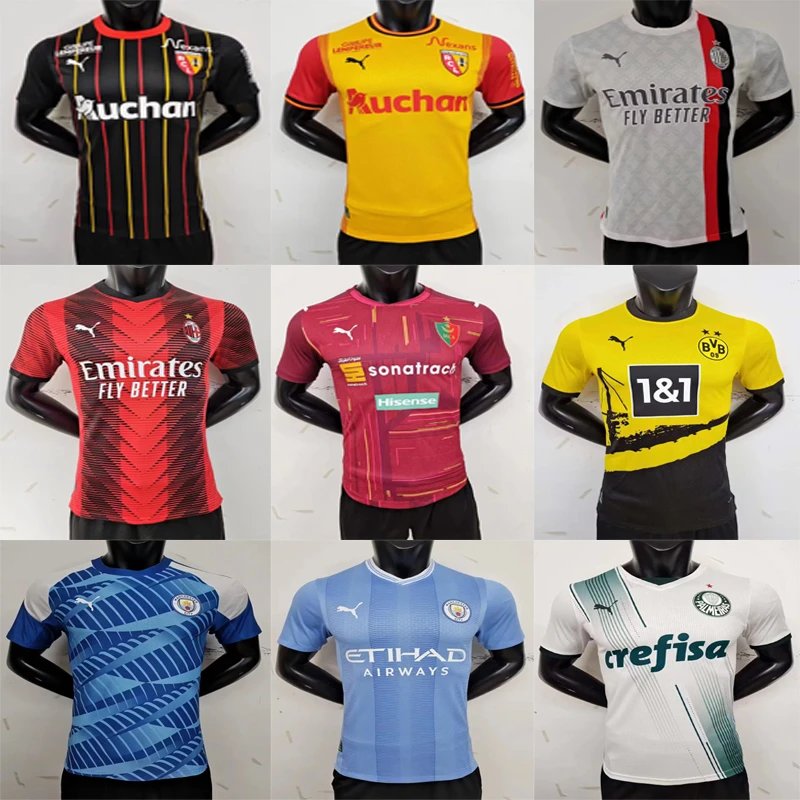
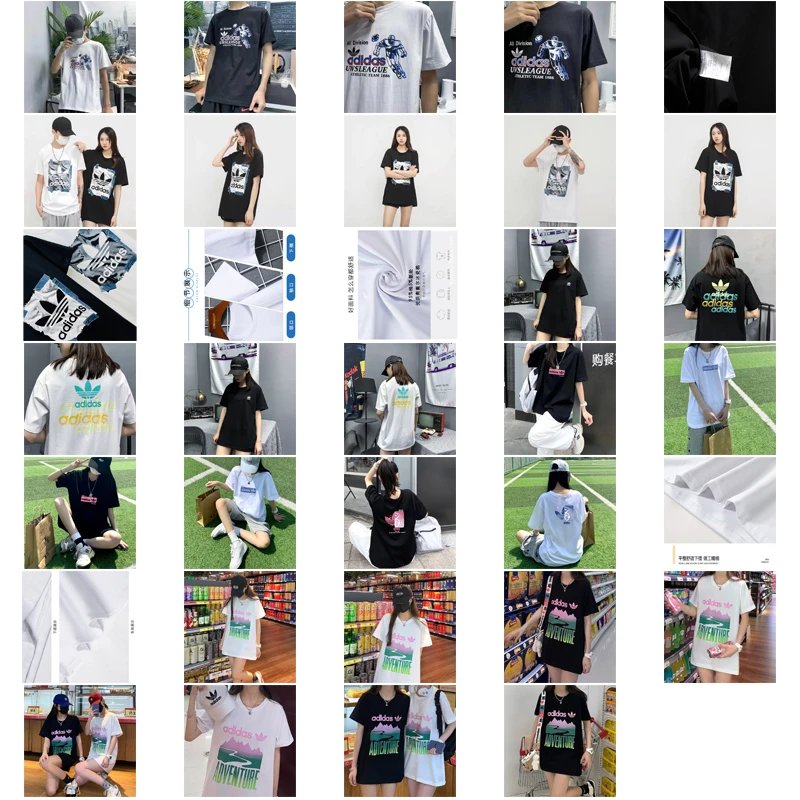
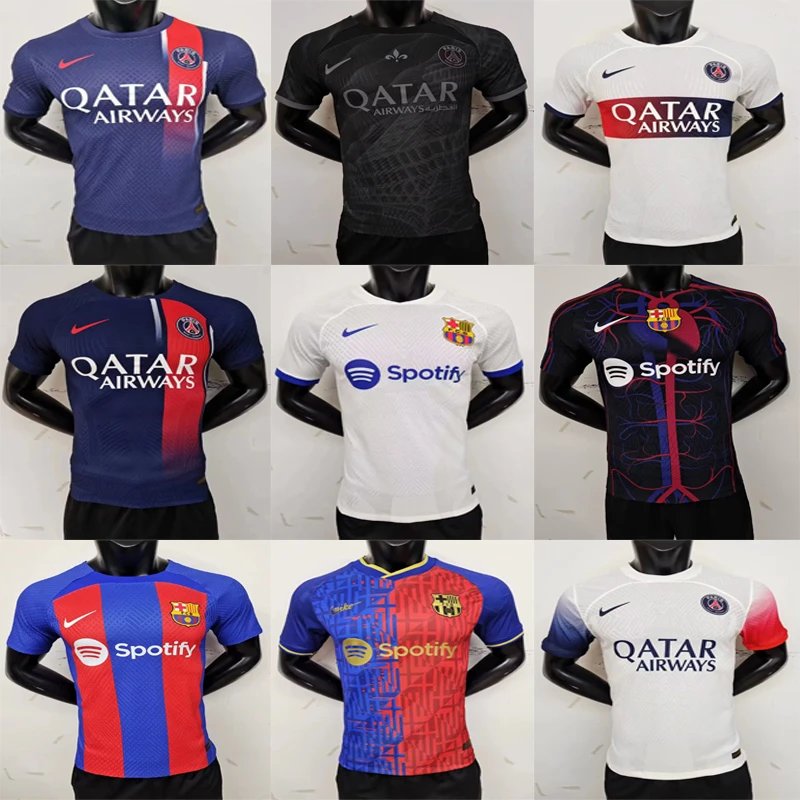
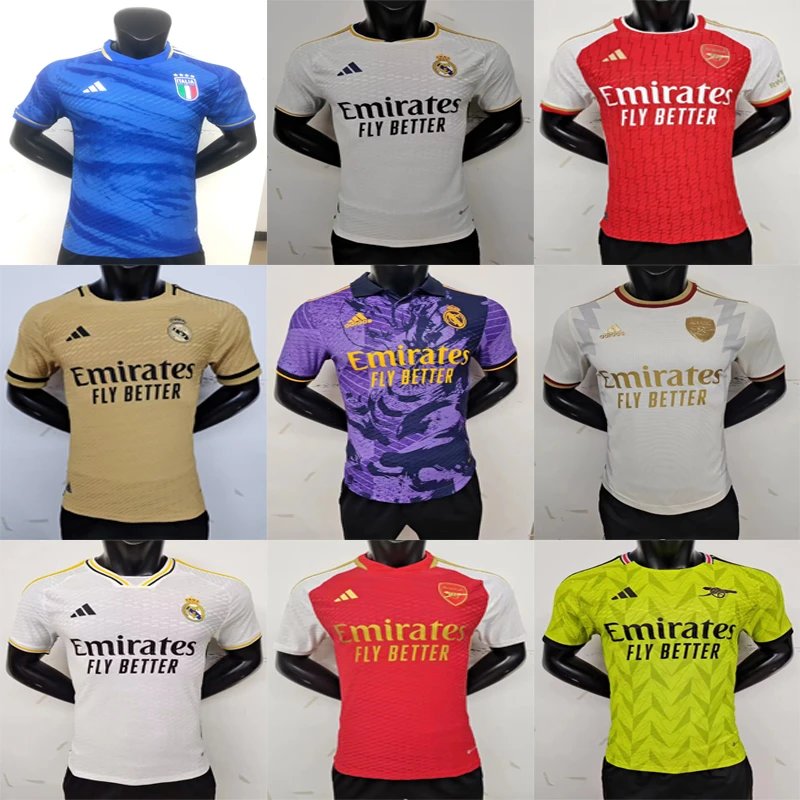
When your item is ready, ask the seller for detailed QC photos. These must include:
- Clear shots from all angles (front, back, sides, top, bottom).
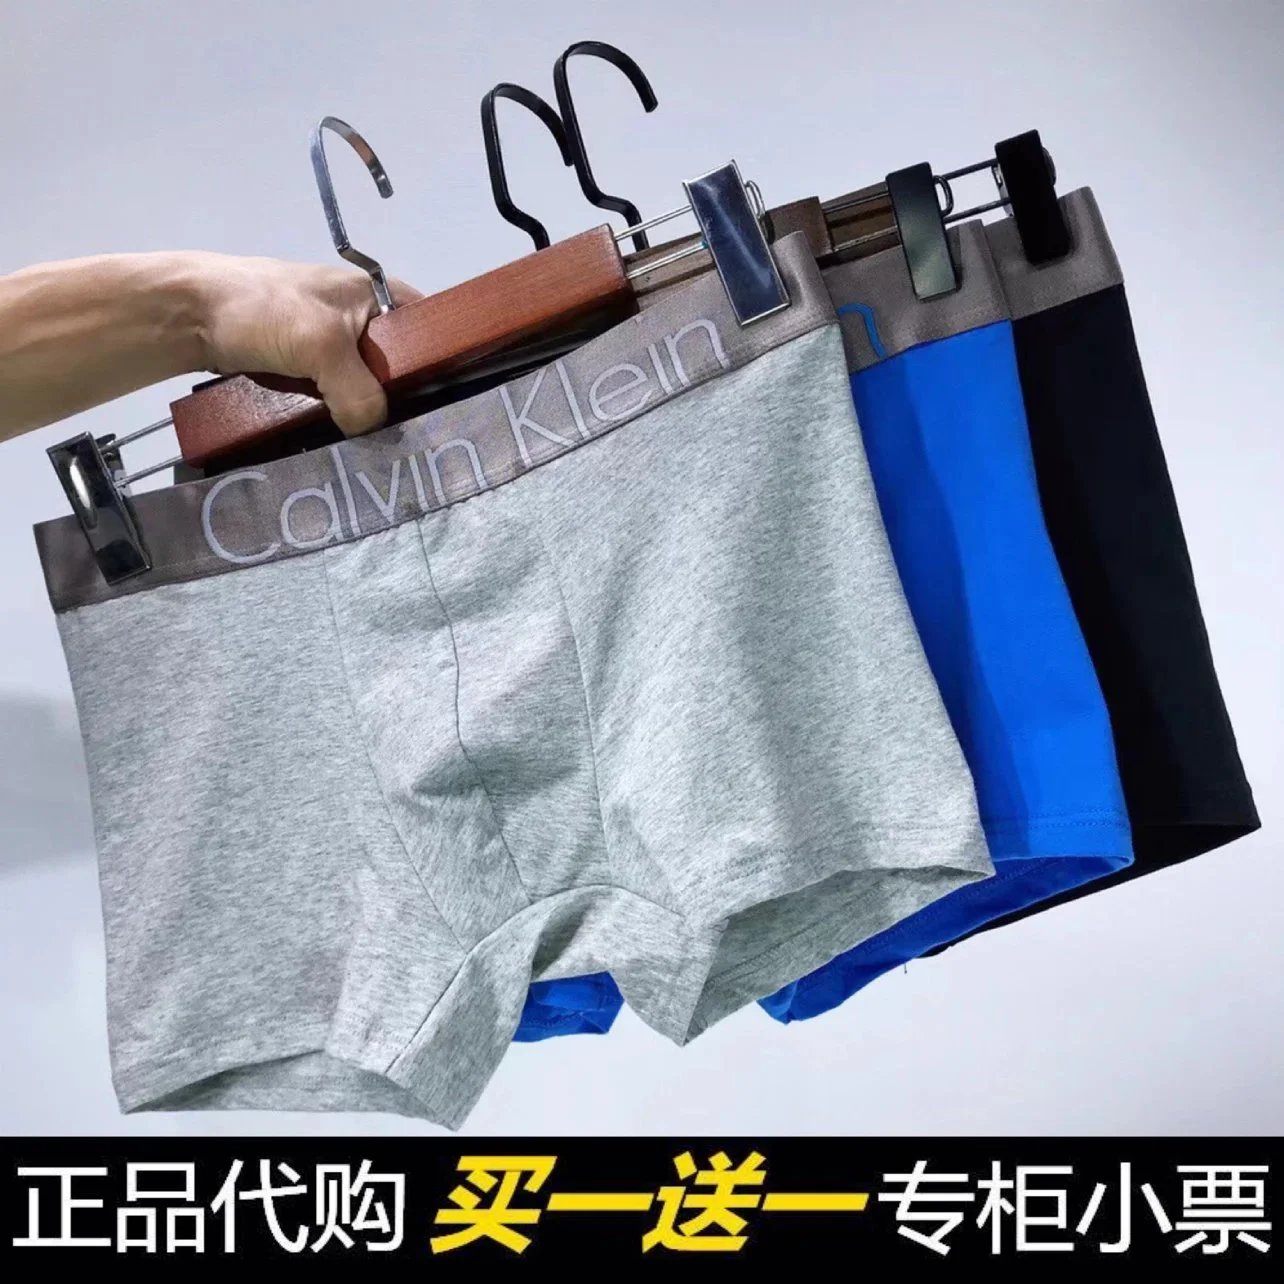
- Close-ups of logos, labels, serial numbers, and unique craftsmanship.
- Photos showing any accessories, dust bags, or packaging.
- The crucial element:handwritten note
Step 2: Capture & Record the Seller's Information
Before saving the photos, take a screenshot of the original product listing. Ensure the capture includes:
- Seller's store name and platform username.
- Product listing title, price, and any stated factory/origin.
- The listing's URL or a unique item ID.
- The date you are performing the verification.
Step 3: Create Your Verification Collage (Key Step)
This is the heart of the method. Use a simple image editing tool or collage app to combine the following into a single image file:
- Left Panel:
- Right Panel:ensuring the photo with the handwritten note is prominently included.
This single image now permanently marries the product source with its physical inspection.
Step 4: Analyze & Compare
With your collage, carefully compare the received item in the QC photos to:
- The seller's stock photos and description.
- Authentic product guides (stitching, materials, logos, proportions).
- Previous QC posts from the community for the same seller or factory.
Step 5: Archive and Share (Optional but Recommended)
Save your verification collage with a clear filename (e.g., USFANS_Verify_[SellerName]_[Product]_[Date].jpg). Consider sharing your authenticated collage (with personal notes blurred if needed) in relevant community forums. This builds a transparent knowledge base and helps other buyers.
Benefits of This Method
Transparency
Creates an undeniable record of what was promised vs. what was provided.
Accountability
Links the seller directly to the specific item's condition, discouraging bait-and-switch tactics.
Community Trust
Provides verifiable evidence for reviews and guides, strengthening the entire buyer community.
Personal Reference
Serves as a perfect record for future comparisons, refund requests, or tracking seller consistency.